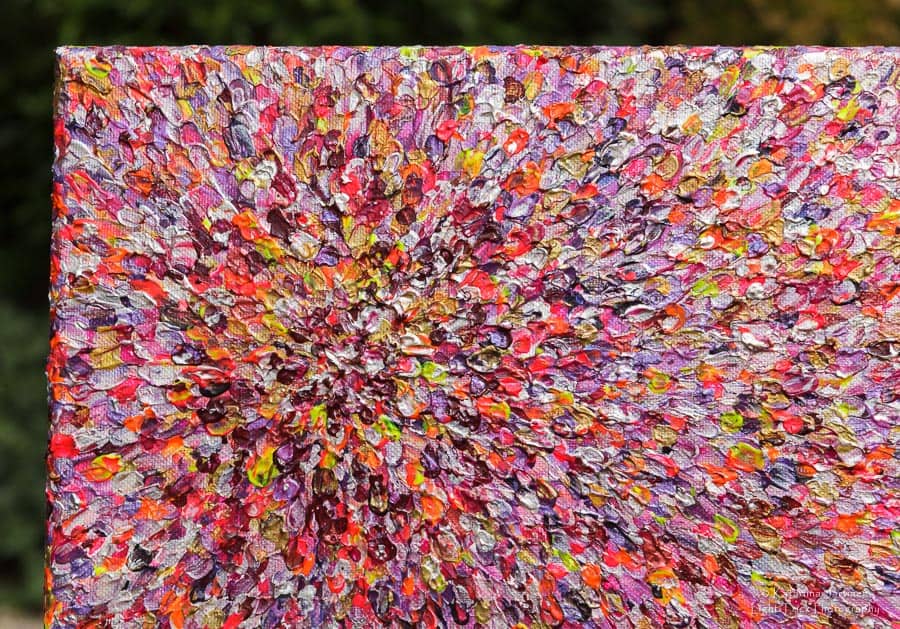
Yesterday I took photos of a local artist’s acrylic painting on canvas. The piece is on display in a Hove Artists Open House exhibition at Hotel Claremont, Hove.
Since this was a very quick low budget photo shoot, I suggested we take the photos of the artwork outside in natural daylight. Taking photos of it indoors would have required me to set up lights just so to light the artwork evenly over the entire surface, which would have easily taken half an hour alone even before getting a single shot. Plus we didn’t have the space for it inside the hotel anyway.
This was my elaborate outdoors setup:
- a garden bench
- a flower pot
- a painting
- a grey card
- the Sun
The flower pot was needed at the back of the painting so that I could adjust the tilt of the canvas to match the angle of my camera’s sensor, to avoid any distortion in the image. I shall demonstrate this with an artwork of my own:
The grey card (missing from above photo) was needed in order to edit the photo in post production to match the true colour of the painting. The lovely artist, Madeleine, was very concerned about the colour of the painting to be correct in the resulting image. Someone who is not familiar with professional grade photo editing software may not understand how easy it is to adjust the white balance of a raw digital image just by taking a photo of a piece of 18% grey card… so even though I tried to explain it, Madeleine wasn’t convinced and suggested that I match the colour to the image she has of the painting on her mobile phone, for example.
The truth is that it is not possible to guarantee that everyone who looks at the photo online sees the correct colour of it. This is because everyone is using a different computer browser or mobile device, and each individual device is set differently to display colour, light and contrast. Hence it is out of anyone’s control how people see the art piece on their own computer, tablet or mobile. But at least the original image can be set to represent the correct colour with the help of a grey card.
I feel I should write a separate post about how to use a grey card. :-)
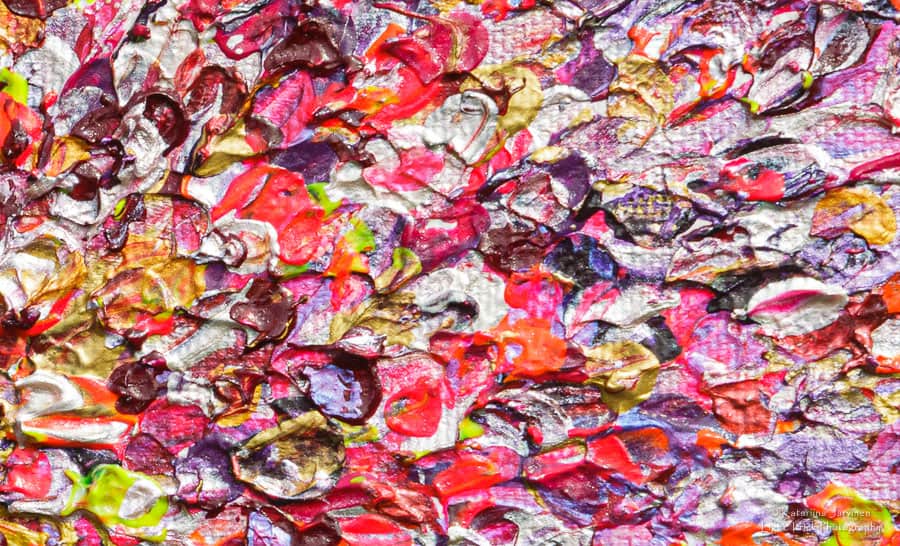
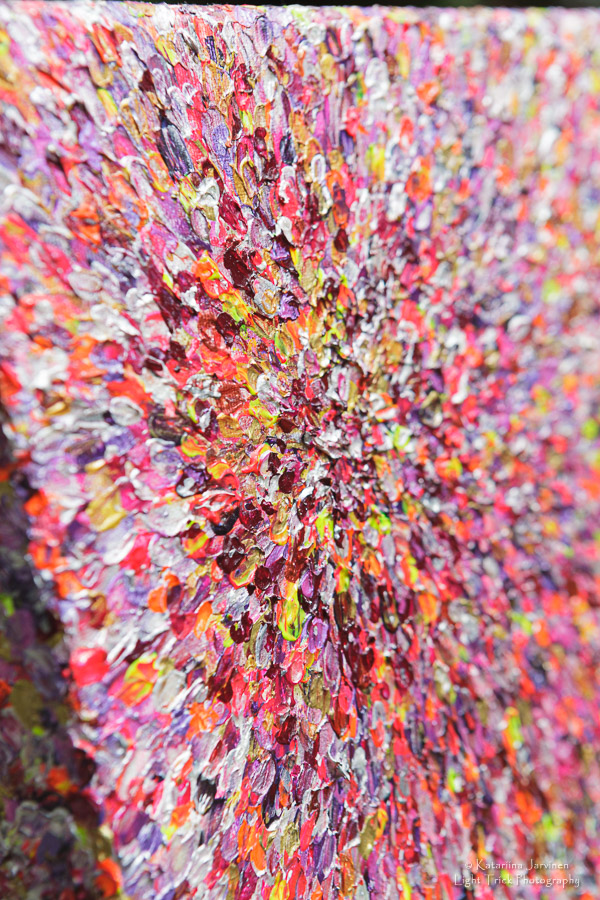
Madeleine’s painting has some translucent parts within the colours so she asked me to take some detail shots where you can see it better. I took some detail shots to show the sparkly bits, and also to see the texture better.


So there you go – a very quick low budget photo shoot of original artwork on canvas.
If you have any questions and/or would like to have great quality photos of your own artwork, send me an email or give me a call and I’ll be happy to help!
Alternatively, if you’d like to have artist portraits of yourself, I can do that for you as well. See an example of artist portrait photo shoot here: https://galleries.lighttrick.co.uk/louisedear/
Katariina (contact details at the bottom of the page – or go to contact me page)


